 English
 Español
 Français
Industry News
Easy install click lock flooring represents the most efficient, durable, and user-friendly flooring solution available today because it completely eliminates the need for messy adhesives, expensive specialized tools, and lengthy installation times. This innovative flooring mechanism utilizes a precision-engineered locking system integrated directly into the planks, allowing homeowners to achieve a seamless, floating floor installation that can be walked on immediately after completion. By simplifying the entire process, it democratizes home renovation, making professional-grade results accessible to anyone willing to follow basic preparation and installation guidelines.
The Core Mechanics of Click Lock Technology
The brilliance of an easy install click lock floor lies in its mechanical joining system. Traditional flooring required heavy nail guns, toxic glues, and significant physical exertion. Click lock technology transforms this laborious chore into a simple, interlocking puzzle. Each plank features a specially designed tongue on one side and a groove on the other. When angled and pressed down, the tongue slides into the groove, and a built-in locking tab snaps securely into place. This creates a tight, gap-free connection that holds the floor together without any attachment to the subfloor beneath it.
Because the floor floats over the subfloor rather than being glued or nailed down, it naturally accommodates the slight expansions and contractions that occur due to changes in room temperature and humidity. This floating nature is precisely what makes the system so forgiving and easy to install for individuals with minimal carpentry experience. The interlocking mechanism provides exceptional structural integrity while remaining flexible enough to prevent peaking or buckling over time.
Essential Tools and Preparatory Materials
Even though the installation process is heavily simplified, achieving a flawless finish requires having the right preparatory tools on hand. Gathering these items before starting ensures the project flows smoothly without unnecessary interruptions. The barrier to entry is remarkably low compared to other renovation projects, but precision is still necessary.
Basic Toolkit Requirements
- Measuring tape for accurate room dimensions
- Spacers to maintain perimeter expansion gaps
- Tapping block for gentle plank adjustments
- Pull bar for tightening joints in tight corners
- Underlayment rolls or pre-attached underlayment
- Cutting tool such as a utility knife or hand saw
An important feature of many modern click lock floors is that they often come with a pre-attached underlayment pad. This saves a significant amount of time during installation. However, if you are installing over a concrete subfloor or a below-grade space, an additional moisture barrier is strongly recommended to protect the flooring material from ground dampness.
Subfloor Requirements and Preparation
The longevity and aesthetic appeal of any floating floor depend entirely on the condition of the subfloor beneath it. While click lock flooring is highly adaptable, it is not a magic cure for structural imperfections. Taking the time to properly prepare the surface will prevent future issues such as squeaking, bouncing, or uneven wear patterns.
Evaluating Subfloor Conditions
The primary rule for a floating floor is that the subfloor must be clean, dry, and flat. Minor variations in height are acceptable, but significant dips or peaks must be addressed. For concrete subfloors, a self-leveling compound can be used to fill in depressions. For wood subfloors, sanding down high spots or shimming low spots is necessary. Sweeping and vacuuming the area thoroughly is vital, as trapped debris can cause an irritating crunching sound underfoot over time.
| Subfloor Type | Primary Preparation | Moisture Barrier Required |
|---|---|---|
| Concrete | Leveling and curing check | Yes, highly recommended |
| Plywood or Wood | Sanding and squeak repair | Optional, depends on humidity |
| Existing Tile | Thorough cleaning and crack filling | No |
The Installation Workflow
Executing the installation is where the convenience of click lock technology truly shines. By following a logical progression, the planks will lay flat and interlock seamlessly. It is generally best to start from a straight, unbroken wall, working your way toward the opposite side of the room while keeping the planks running parallel to the longest dimension of the space to maximize visual appeal.
Step-by-Step Laying Process
- Place spacers against the starting wall to maintain a consistent expansion gap around the room's perimeter.
- Lay the first row of planks with the tongue side facing the wall, clicking the short ends together by angling and pressing down.
- Begin the second row with the remainder of the plank from the previous row to ensure the end joints are staggered, which enhances structural stability.
- Angle the long side of the new plank into the locking groove of the installed row, gently lowering it while applying inward pressure until the lock clicks.
- Use a tapping block and a hammer to gently tighten the short ends of the planks together, ensuring no visible gaps exist between the boards.
- Continue this staggered pattern across the room, measuring and cutting the final row to size while leaving the necessary expansion gap.
When encountering door frames or vents, it is often easier to cut the bottom of the door frame slightly to slide the plank underneath, rather than trying to cut an intricate notch into the flooring itself. This technique provides a cleaner, more professional appearance while simplifying the installation. Staggering the end joints by at least a third of a plank length is critical to prevent the floor from looking like a ladder and to distribute weight evenly.
Design Flexibility and Aesthetic Appeal
Beyond the practical advantages of easy installation, click lock flooring offers immense design versatility. The manufacturing processes have evolved to the point where these floors convincingly mimic the look and texture of natural materials. Homeowners no longer have to compromise on aesthetics to achieve a simple installation.
Visual and Textural Options
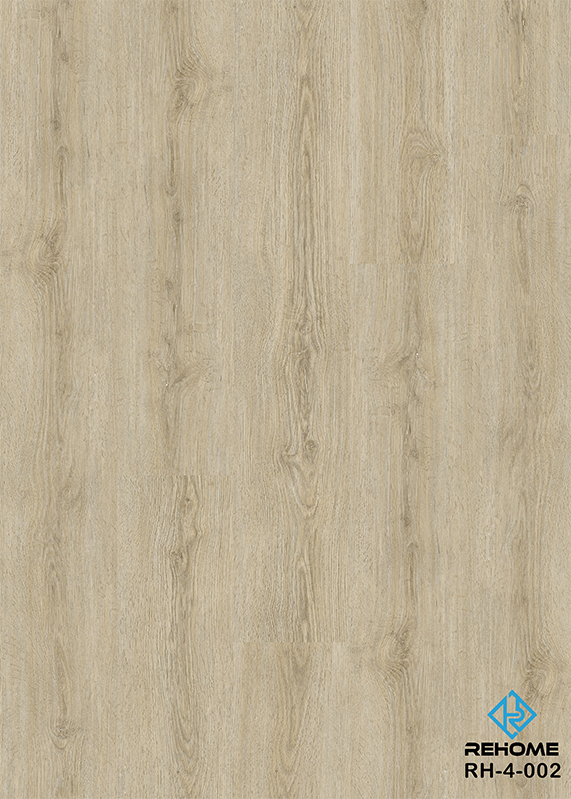
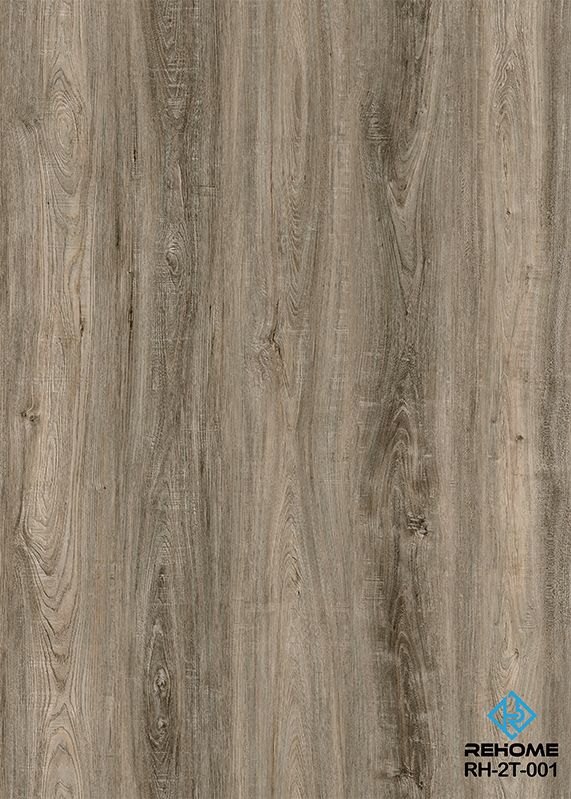
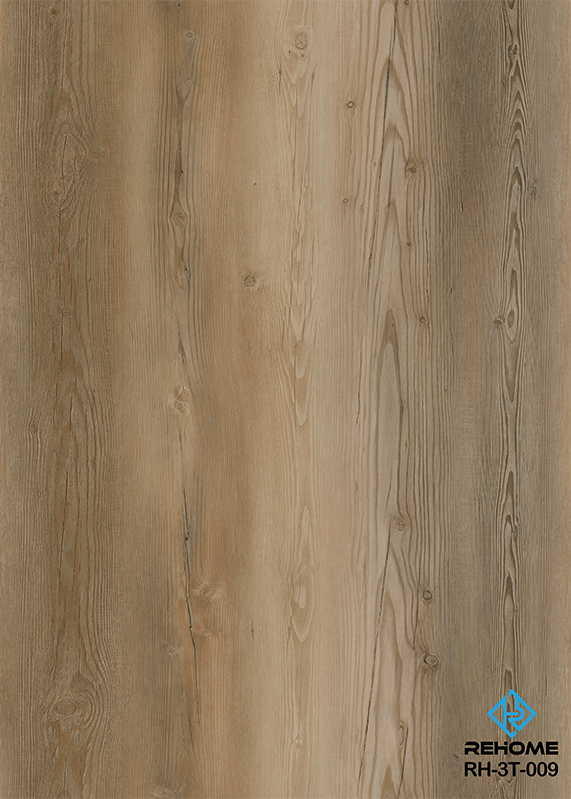
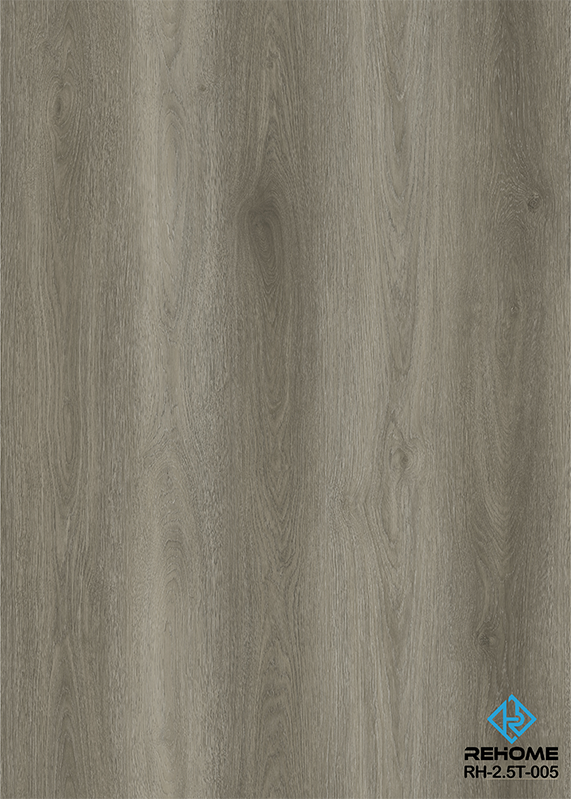
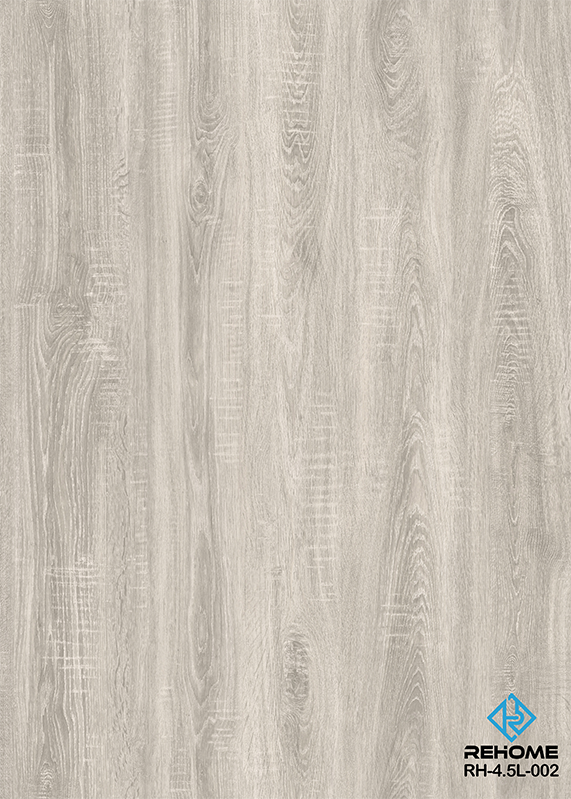
- Authentic wood-look planks featuring embossed textures that match the grain pattern.
- Wide plank formats that create a sense of spaciousness in smaller rooms.
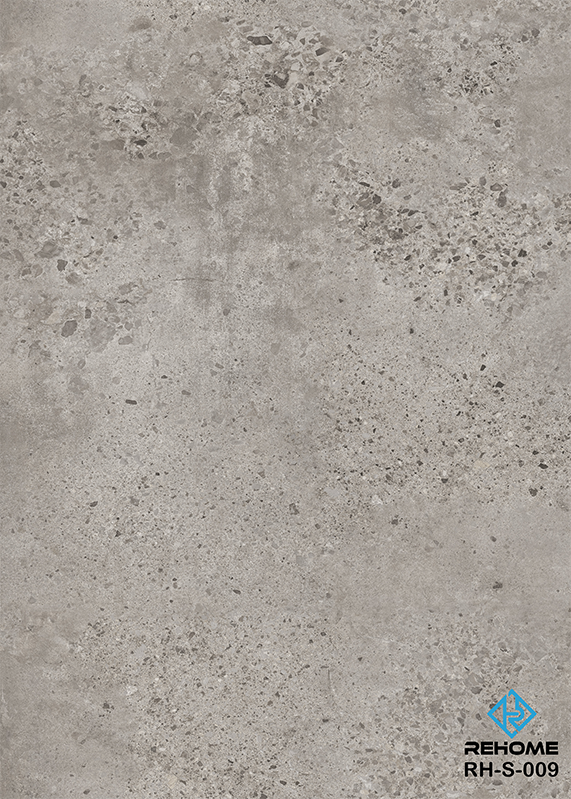
- Stone and tile visuals that offer the elegance of ceramics without the grout cleaning.
- Waterproof variations suitable for high-moisture areas like bathrooms and basements.
The ability to install these floors in moisture-prone areas expands the design possibilities throughout the entire home. The click lock system allows for creative patterns as well. While straight lay is the most common, some thicker and more robust click lock variations can be installed in herringbone or chevron patterns, provided the manufacturer's specific locking mechanisms are utilized correctly. This design freedom means an easy install does not equate to a basic or unremarkable finish.
Long-Term Maintenance and Care
Once the easy install click lock floor is in place, maintaining its pristine condition requires very little effort. The durable wear layer applied during manufacturing is designed to resist scratching, fading, and general wear. However, adopting a few simple preventative habits will significantly extend the lifespan of the floor.
Routine Upkeep Guidelines
Regular maintenance primarily involves removing abrasive particles before they can scratch the surface. A soft-bristled broom or a vacuum cleaner designed for hard floors is ideal for daily cleaning. When deeper cleaning is required, a damp mop with a cleaner specifically formulated for the flooring material is recommended. Excessive water should always be avoided, as pooling liquids can seep into the seams of even the most water-resistant floors over time.
Protecting the floor from furniture is another vital aspect of care. Applying felt pads to the bottom of chairs, tables, and sofas prevents scratches when furniture is moved. Additionally, placing walk-off mats at exterior entrances catches dirt and moisture before it reaches the flooring. Consistent, gentle cleaning and the use of protective pads are the most effective ways to preserve the original luster of a click lock floor for decades.
Common Mistakes to Sidestep
Even with a system designed for simplicity, errors can occur. Being aware of the most frequent installation mistakes can save a significant amount of frustration and material waste. Many of these errors stem from rushing the preparatory phase or ignoring the basic physics of a floating floor.
Critical Errors to Avoid
- Ignoring the expansion gap, which leads to buckling when the floor naturally expands.
- Failing to stagger the end joints, resulting in a structurally weak floor and an unnatural appearance.
- Installing over an unlevel subfloor, causing the locking mechanisms to separate and creating an uneven surface.
- Not allowing the flooring to acclimate to the room's temperature and humidity before installation.
Acclimation is a step that is occasionally overlooked in the eagerness to begin. Planks should be left in the room where they will be installed for a short period before being placed. This allows the material to adjust to the ambient climate, ensuring that the locking system fits perfectly and the floor remains stable after installation. Skipping this simple step can result in gaps forming between planks as the material expands or contracts post-installation.